The hardback Moleskine project
It may have been a false alarm but for weeks I couldn't find any hardback Moleskines anywhere and was convinced they had been discontinued. I was also convinced that, not unlike learning to siphon gasoline, I needed to adapt to my harsh new post-apocalyptic softback reality.
Step 1 – Buy a softback Moleskine
Avoid this step if at all possible.
However, if you were either—like me—totally unaware that there were even such things as softback Moleskines or really desperate to buy a Moleskine right now and softbacks are the only version available, you'd start with this step.
Step 2 – Assemble your materials
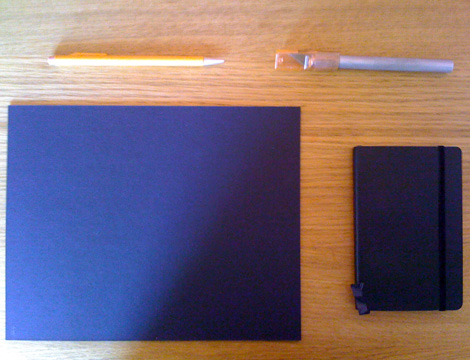
For this project you're going to need: 1) a softback Moleskine, 2) an X-acto knife, 3) a pencil, 4) white glue, and the secret ingredient: 5) matte board. Matte board is found at most office supply stores and every photo shop and should cost you less than a dollar for an 8" x 10". We're using matte board because it's hard to bend and comes in black.
Step 3 – Line up the edges
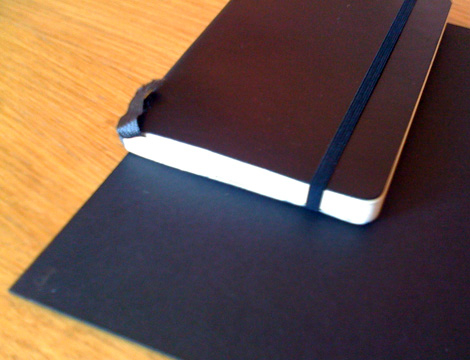
Actually. Don't. That is to say, don't literally line up the edges. You're going to want the Moleskine to hang off the edge of the paper a little bit so that the hard back will be shorter than the Moleskine itself. That way, once we glue it in, the notebook can still close.
Step 4 – Trace the Moleskine
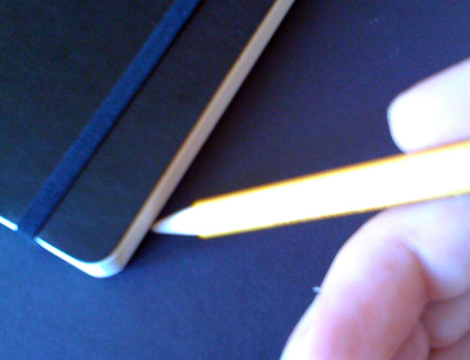
I suppose you could use math for all of this, determining the exact geometry and then rendering a congruent shape via a ruler and compass, but I just traced the Moleskine on the matte board with a pencil. Done.
Don't forget the 2.0 rounded corners. They are but one of the many features that makes the Moleskine so popular among web designers.
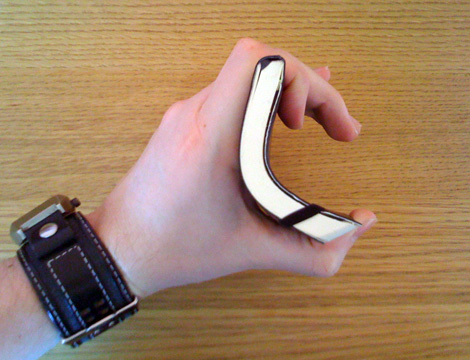
Step 5 – Cut out the hard back
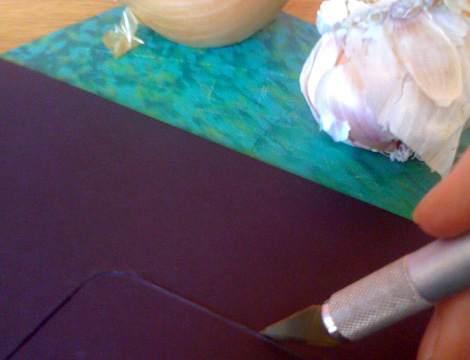
You're going to want to do this on a cutting board, so your fianceé doesn't flip out when she gets home about the knife marks on the kitchen table and you have to explain sheepishly that you were up to the very serious business of converting your softback Moleskine into a hardback and forced an innocent piece of furniture to forever bear the scars.
If you forget this step and she's already flipping out, telling her that you're also blogging about it will not help.
Step 6 – Glue in the hard back
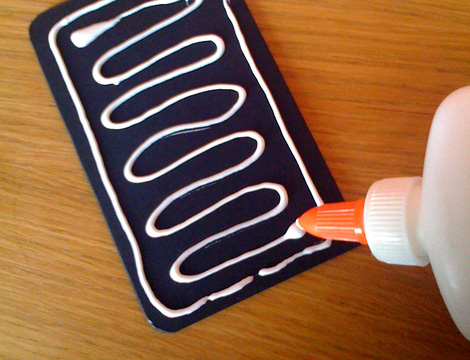
The front cover is easy business, just line it up and press it in. If you want access to the back pocket, you might want to glue the back cover on the second-to-last page. That will still provide a hard surface to write on—provided you're not writing something while it's physically inside the pocket (which seems impossible but is not that outlandish, considering that my Fisher Space Pen can write upside-down, underwater, and in space... so why not inside pockets?).
I used a little bit too much glue, but only a little bit. If the glue squirts out the sides during placement, a damp rag can pretty easily wipe it off and let you, once again, turn the pages. If you're into that.
Step 7 – Put on the pressure

Like in the creation of metamorphic rocks, pressure and heat (except, uh, not heat) are the key to getting the glue to do its magic and stick the pages together in a non-temporary manner. Put the Moleskine under something very heavy and let it sit for a few hours. I find vegetarian cookbooks to work really well for some reason, perhaps because all that ideology is a pretty heavy burden.
Soon your new hardback Moleskine will be ready and you can take it to SXSW and take very important notes in it.